Since our last post a few weeks back, we've made some good headway on the rear axle swap. The stock 91-94 Explorer 8.8 axle came with drum brakes, so it just makes sense to upgrade them to disk brakes for a cleaner look. For rear disc brakes we're going to be using a setup that comes from a 94-04 Mustang V6. These parts are inexpensive and very easy to work on.

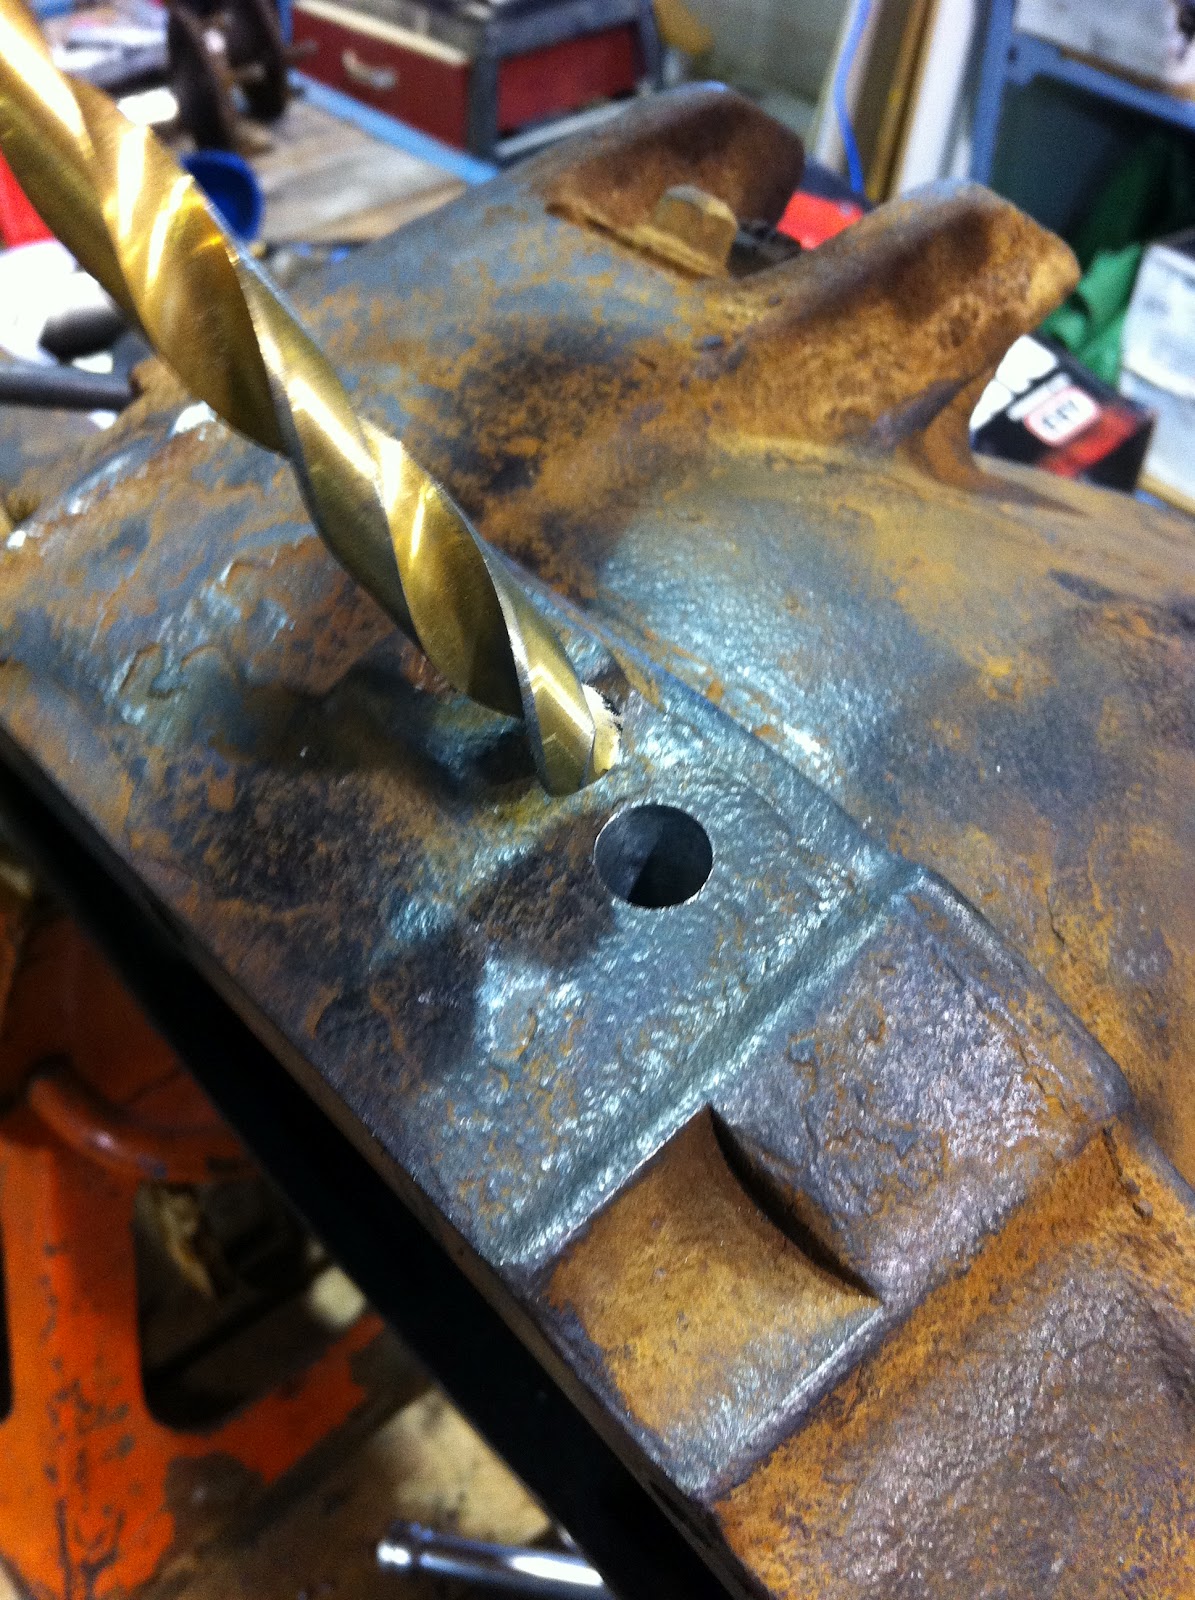
First things first, a portion of the brake mounting flange had to be trimmed for our new brake caliper bracket to fit. We need to mount it in this position because we need the clearance for the E-Brake cable to run over the axle tube in order to line up to the caliper.

After we gave the caliper bracket a shot of black paint, we now had to replace the wheel studs in favor of longer ones. The reason for this is the overall track width on the Explorer axle is 1-1/4" narrower that the stock Dana 35. To maintain the factory track width we're going to use a 1/2" wheel spacers on both sides. With the thickness of the spacers and rotors, we're now able to get back to the factory track width and have proper thread left on the studs to mount the wheels on.

We've now assembled the brakes and bolted everything up.


Now we can start on the Axle Truss Kit.
When we started this Ford 8.8 axle swap project, we wanted to make it as smooth as possible when mounting on new Jeep TJ Brackets. So we turned to one of our suppliers, ARTEC Industries for this slick TJ 8.8 Swap & Truss Kit. This really takes the guess work out in where to position all the brackets. There's only one way to put this assemble it and the instructions are very easy to follow.

Pre-assemble the main pieces together and rest it on the axle. This is to make sure that you have all the brackets in the right location. We then set our pinion angle to 15 degree's and the top of the truss plate dead level.


Pinion Axle set to 15 Degree's

Top Axle Truss to 90 degree's level

Now that we got brackets in place, we tack weld everything together and dry fit the axle into the Jeep to make sure everything is lined up correctly.
Removing of the old Dana 35
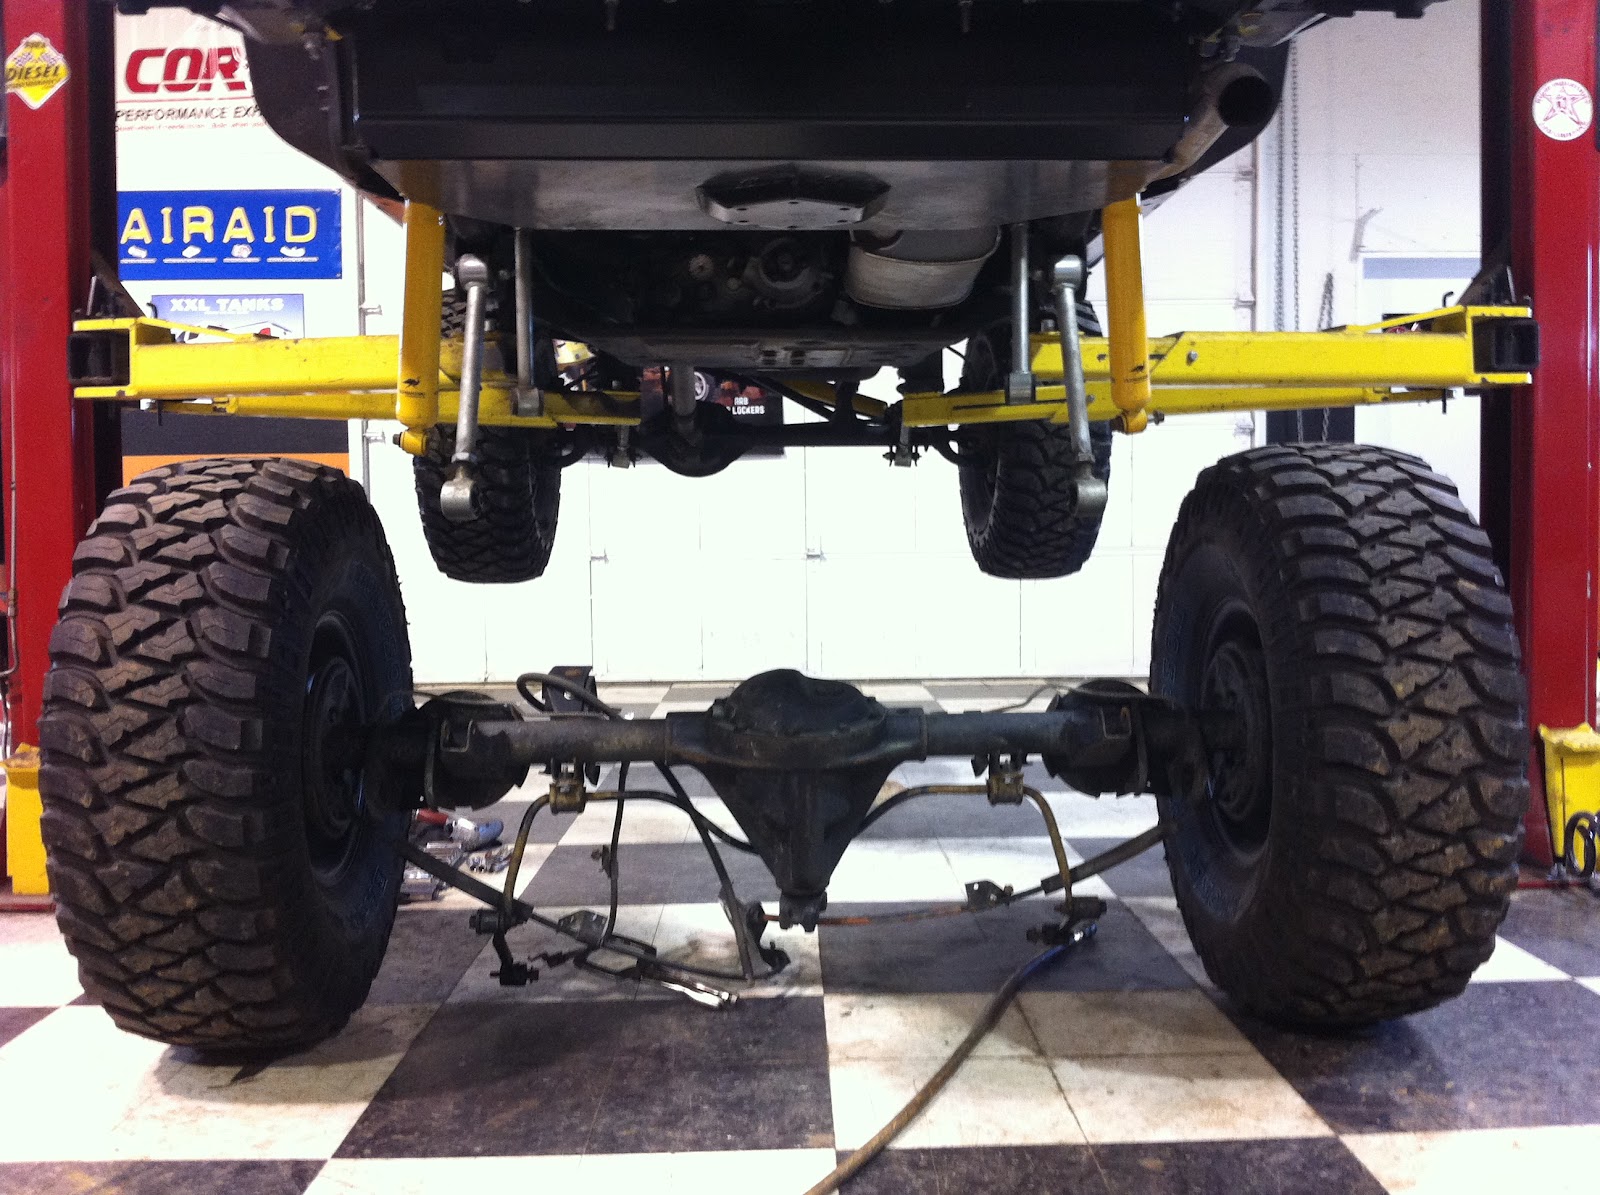
Installing the Ford 8.8 to make sure the brackets are in the right location

As you can see, the rear control arms line up perfectly on both sides and there's plenty of clearance around the truss brackets.


Once we're satisfied with the clearance and fitment of the axle, we remove the rear end from the Jeep and completely weld up the Truss Kit to the Axle.


Stay Tuned for more as we continue upgrading the
Cap-it/ARB Jeep TJ drive train