Monday, February 20, 2012

T-Case Slip Yoke Eliminator Kit (SYE)

A Slip Yoke Eliminator Kit (SYE) is a very common drive line upgrade for Jeep owners. This is where you remove the slip yoke from the output tail shaft from the NP231 T-case and mount a fixed yoke end. The main reason why owners do this is to reduce the rear drive shaft vibration  after a lift kit has been installed. Due to the increased drop in suspension, the drive shaft angle increases dramatically causing the u-joints to operate at their limit.
By installing the SYE kit, we can lengthen the rear drive shaft and reduce the
angle load on the u-joints. The SYE kit we are using is from Advance Adapters. 


As you can see with full suspension droop, how severe of an angle the rear drive shaft is.

Here we are removing T-case from the transmission.

Now removed from the transmision

Now that we have the T-case out on on our bench,
it's time open it up and replace the outout shaft.

First we remove Speedo Gear sending unit.
Then the rear seal along with the inner c-clips.

Now we have the T-case split open, it's relatively easy to remove the output shaft.
Lift the output shaft and idler gear at the same time.

As you can see the new output shaft on the right is much smaller
that the stock one on the left.

Now installing the gears from the old shaft onto the new output shaft.
Be sure to keep the gears in the same order as you took them off.
Use the new C-clips that are supplied in the kit.

To install the new output shaft you assemble everything back together in the reverse order.
Clean off the flange surface thoroughly and apply a bead of RTV Silicone.

Once the top half cover of the T-case is bolted back together, we can install the oil pump pickup drive and then the new Speedo gear on followed up with a
new C-clip to hold it in place.

The next step in to install the new aluminum tailhousing that has a new bearing pre installed

The factory Speedo Sensor is mounted the new tailhousing and attached the new fixed yoke to the end of the output shaft. Torque to 140-150 ft./lbs. with 1-1/8" socket.

Here you can see the difference in the length of the output shaft.
This is going to help us gain length in our new custom drive shaft that we
are getting built later, once the new Ford 8.8 rearend is installed.


Stay tuned for more updates as we get set to install
Air Lockers and Gears in our 31 Spline Ford Explorer 8.8 Axle.

Monday, February 6, 2012

CAP-IT JEEP TJ - DRIVE TRAIN UPGRADES


Well after a year has gone by on the completion of the Cap-it Jeep TJ, it's now time to upgrade the drive train. If we are wanting to hit the back road trails in beautiful British Columbia, we need a properly equipped Jeep. 

So in saying this its time to get rid of the stock 3.07 gears, remove driveline vibrations, replace the rear Dana 35 with a heavier rear end and lock up the front & rear differentials with some air powered lockers.

Check in with us as we'll update the progress through the up and coming weeks.


Plans for the TJ
  • Transfer Case Slip Yoke Eliminator (SYE) kit
  • Ford 8.8 Rear Axle Swap
  • Front and Rear ARB Air Lockers w/4.56 Gears

    Wednesday, April 13, 2011

    Cap-it ARB Jeep at Edmonton International Autoshow


    Cap-it is now Open in West Edmonton
    CAP-IT WEST EDMONTON
    17930 Stony Plain Road.
    Edmonton, AB, T5S 1N5
    PH: 780 481-0448 


    Look for Cap-it's Booth at this years
     Edmonton International Auto Show,
    April 14th - 17th
    as our Cap-it ARB Jeep Build will be on Display


    Monday, March 21, 2011

    Cap-it / ARB Jeep COMPLETED


    Finally!! After a fast and furious pace these last few weeks, the Cap-it / ARB Jeep Project in now Complete.


    Be sure to come by Cap-it's Booth and see the Jeep on display for the first time.
    Grande Prairie Sports Expo show April 1-3 2011,
    The TEC Center at Evergreen Park, Grande Prairie


    Stay tuned as we give a complete run down on the last remaining accessories on completing the Cap-it/ARB Jeep project.


    Friday, February 18, 2011

    Update #9 - Safari Snorkel Install

    Time to Snorkelize the Jeep with a Safari Snorkel from ARB.

    For those who want quality and durability in protecting their engines from what mother nature has to throw at it, Safari Snorkel is the one to go with.
    First things first, we make a few measurements with templates that are provided in the kit. This is going to help insure us in drilling holes in the right place.

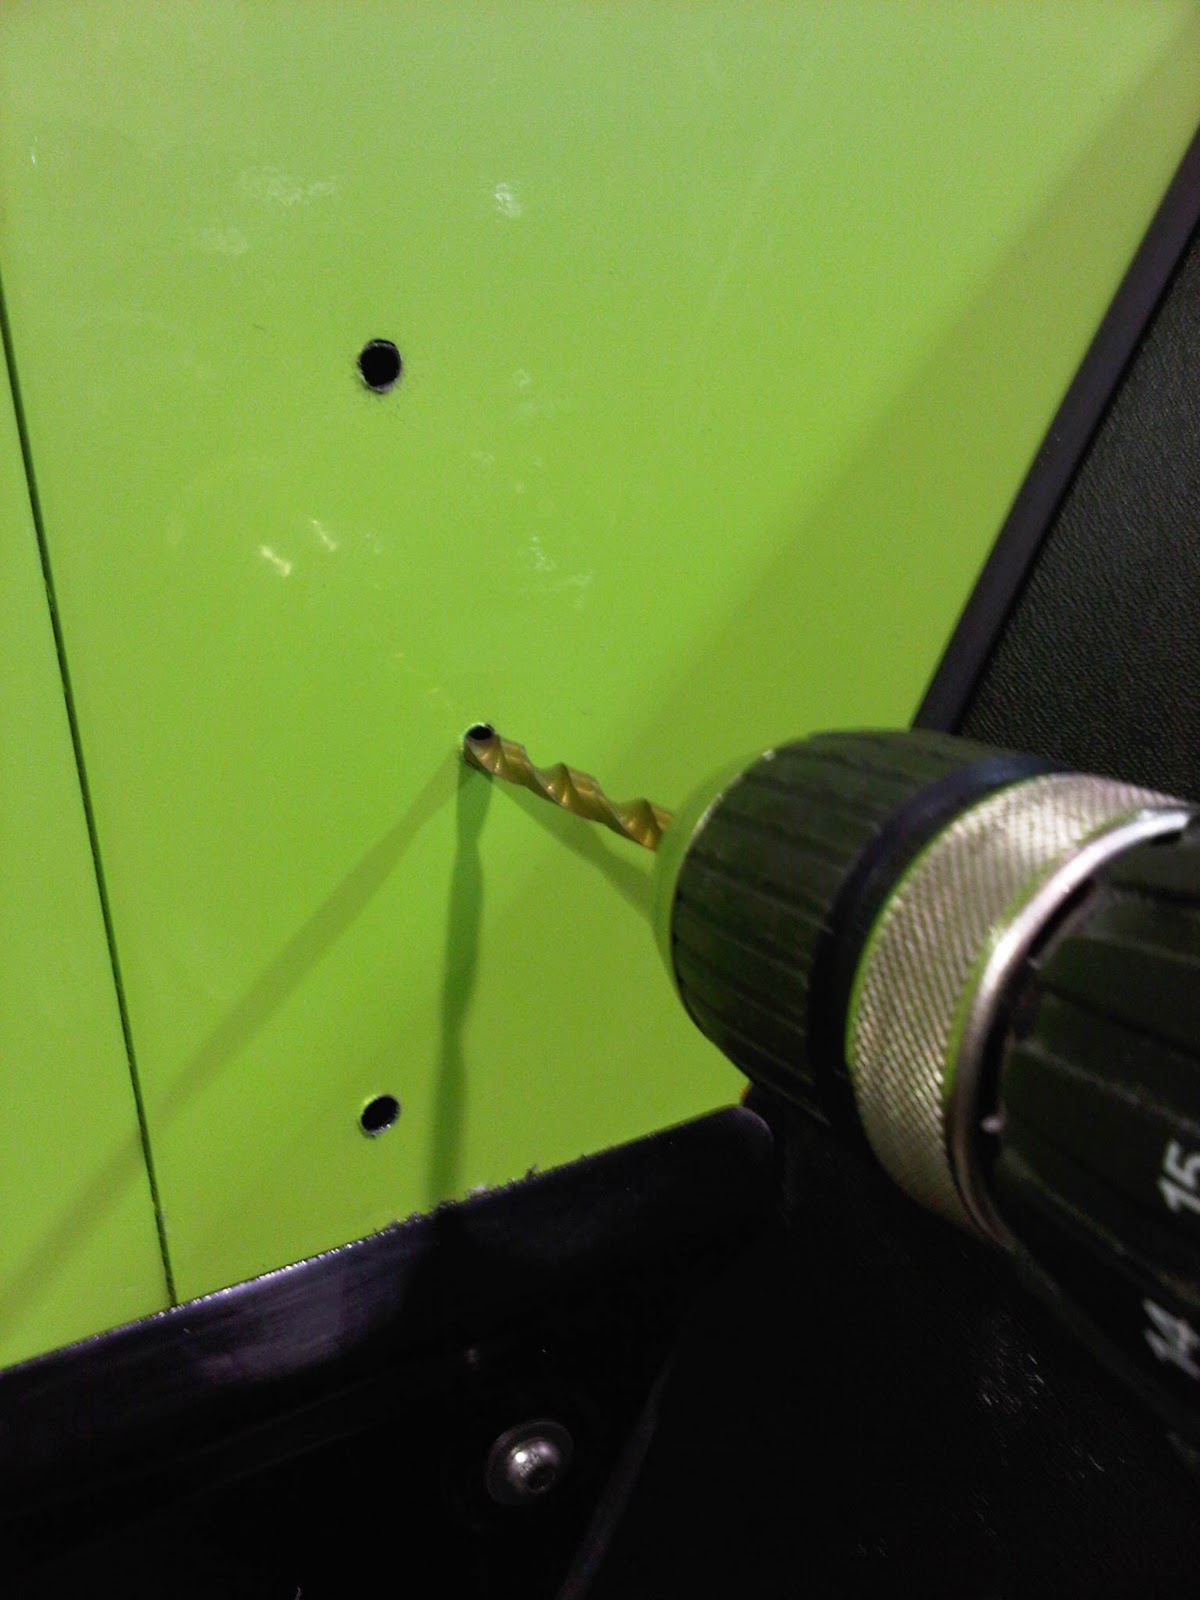
    Now we mark the holes and drill them out.

    The last hole to drill out we need to use a 76mm holesaw. This is where check and recheck yourself comes into the equation. You got only one shot with this.


    Now that the hole is drilled out in the body, we can line up the snorkel to the windshield, mark out for the upper mount and install it.


    As for the intake box, we remove the intake horn and seal it up a plate that’s provided. Make sure to use ample amount of silicone for a good seal.


    Next we use a template to mark out the side of the intake box to cut out for snorkel tube attachment.

    I used a 1¼” holesaw to get a cleaner cut around the corners.  

    Once again be generous with the silicone and install the intake plate with pop rivets supplied.


    Here we install the airbox back on the fender. As you can see the block off and intake plates now installed.

    Now we hook up the intake hose and apply a bit of silicone on the ends for a water tight seal.

    When then attach the hose to the intake pipe by crawling under the Jeep to access the area that’s below the battery tray.

    We now install the intake grille to complete our install of the Safari Snorkel.

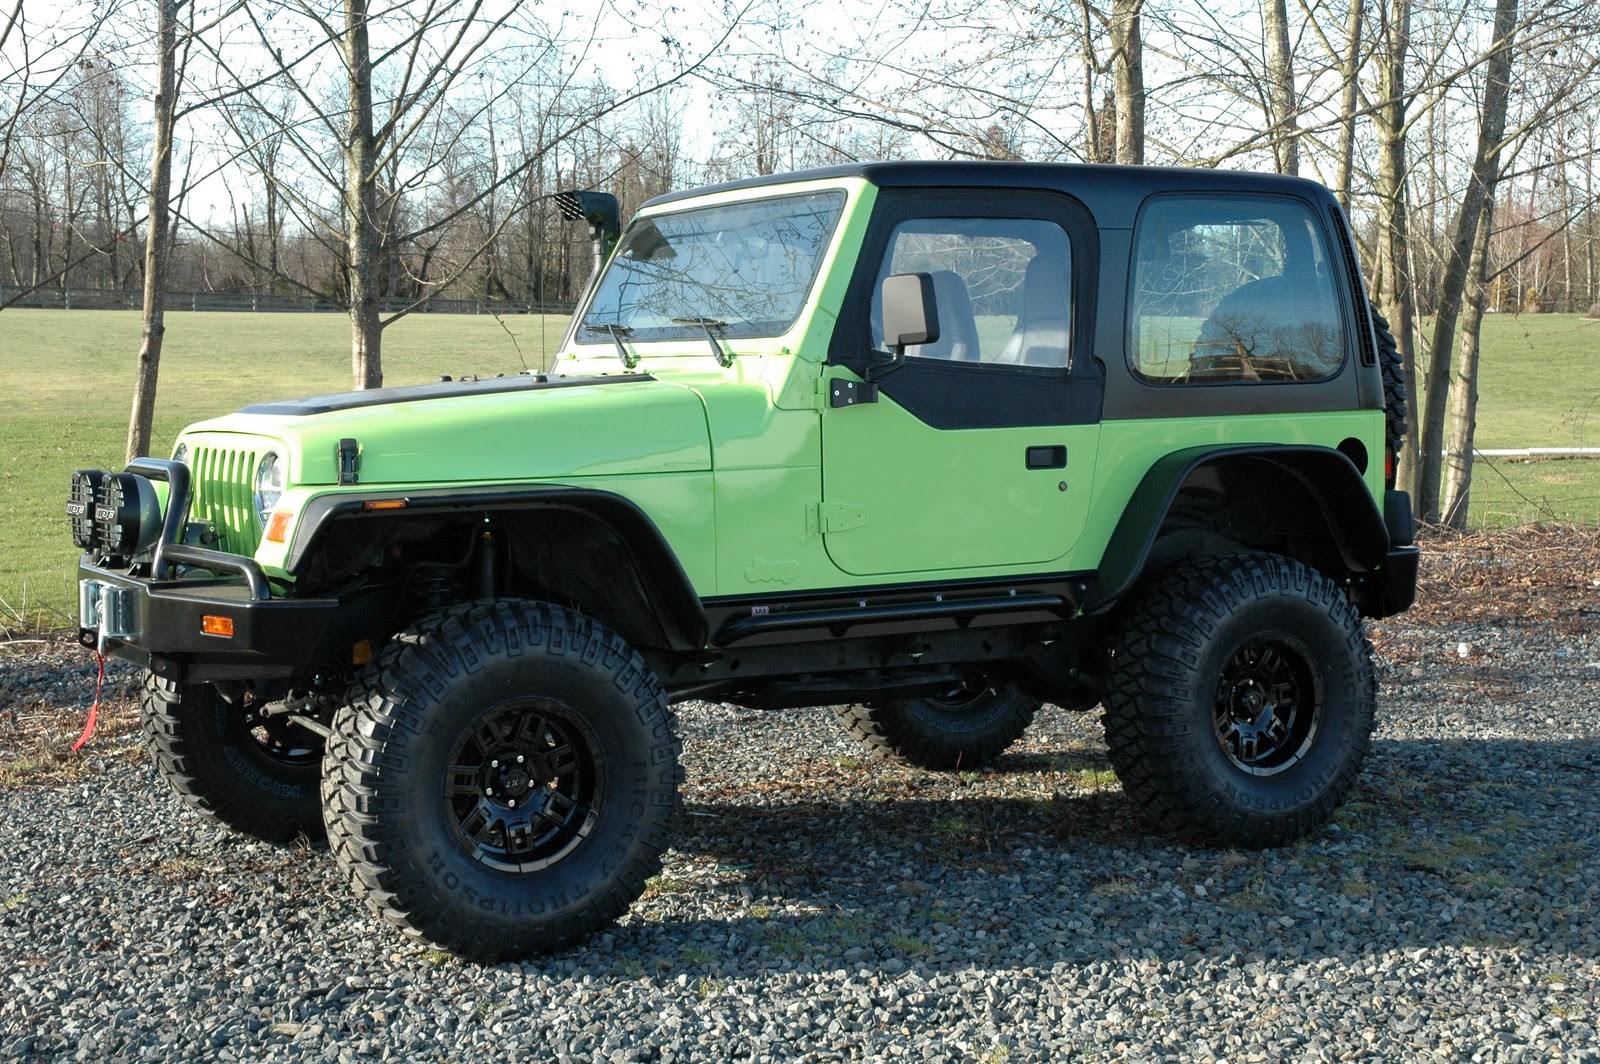
    The finished look.


    Here’s a few video’s on what Safari Snorkels are all about.


    LINKS

    Stay tuned as we tackle more accessories

    Monday, February 7, 2011

    Phase VIII - Install a Customer Headliner and Repainting the Hardtop

    So the past couple of weeks we’ve made some really good progress on coming close to getting our Jeep on the road. We’ve repainted the Hardtop and Carpet Lined the inside to get rid of the factory white interior roof.

    Here’s what the inside of a Jeep Hardtop looks like.  It’s plain, white & boring looking. Just about every Jeep out there with a Hardtop looks like this and when we’re finished carpeting this, you’d wonder why Jeep didn’t offer this as a standard option. Especially with the ever so popular Jeep JK’s now.

    To do this we took the rear glass off, removed any hinges and interior lighting to make the job easier. Then flipped it upside down on some moving blankets to not scratch it up.
    The style of headliner we’re using is called Foss Lining in Charcoal color. It’s a material that is marine grade that doesn’t collect water and create mildew. In our industry its widely used in the Leer Canopy’s to cut down moisture. So this is really going to help in regards to fogging of windows, help with insulation and also cut down on interior noise.

    If you’ve never done upholstery work of any sort, leave this job to the Cap-it guys. It takes a lot of experience to make this job look like it was done at the factory.
    First we mask off all the area’s we don’t want to have glue sprayed on, then we start from the middle and work our way out. The glue we’re using is moisture resistant and will ensure that the liner stays up for many years.


    Then carefully wrap it up the side and contour it to the groves in the fiberglass.

    Once both sides are done, I then go with a new blade and carefully trim off the access material.

    Then we start re-installing all the hardware/wiring plugs and the window rubber.


    Here’s the finished look on our Hardtop Interior. As you can see this really cleans up the inside.


    To make this job look like a million bucks you have to take your time and be patient. For having over 15 years of experience, this job took me around 4 hours from prep work to reinstalling the hardware. Call your local Cap-it Store to get a quote on getting your Hardtop carpeted, as this adds a great look and cleans up the interior to a factory finish.


    Now for the repainting the exterior.


    The top has a textured finish that I wanted to keep sanding it down is out of the question. So I gave it a very good wash and towel dried it to make sure I removed all the dirt and grime. I then turned up the heat in the shop to get the hard top nice and warm. As for prepping, the only thing to do is to mask off the windows and door openings for over spray not to ruin the carpet.

    I used about 2½ cans of Duplicolor semi gloss black and gave it about 4 coats of paint. I was a little surprised how much the hardtop absorb the paint.


    Now that the Hardtop is looking like brand new, its time to put it back on the Jeep and take it outside and have a look.


    Check back shortly as we’re on a mission to finish up the Project

    Some of the items to finish up our Cap-it/ARB Project are: