
Time to Snorkelize the Jeep with a Safari Snorkel from ARB.
For those who want quality and durability in protecting their engines from what mother nature has to throw at it, Safari Snorkel is the one to go with.
First things first, we make a few measurements with templates that are provided in the kit. This is going to help insure us in drilling holes in the right place.

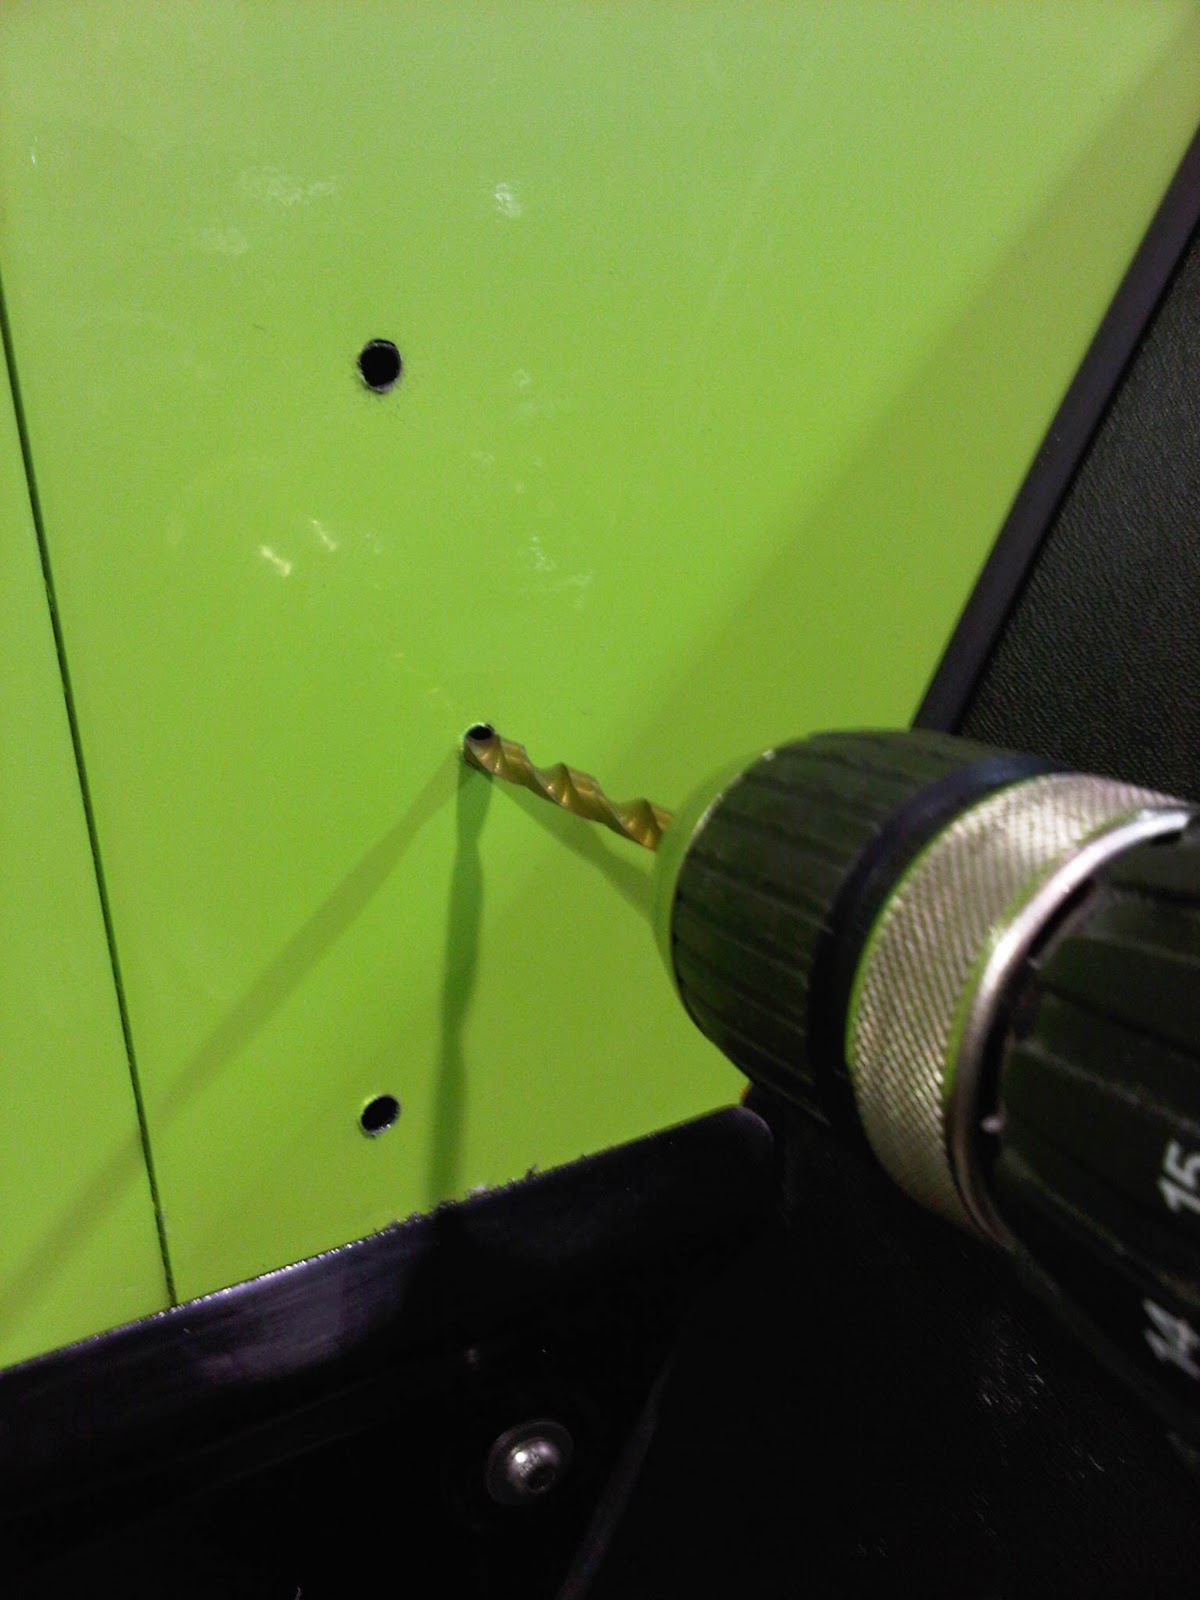
Now we mark the holes and drill them out.
The last hole to drill out we need to use a 76mm holesaw. This is where check and recheck yourself comes into the equation. You got only one shot with this.


Now that the hole is drilled out in the body, we can line up the snorkel to the windshield, mark out for the upper mount and install it.


As for the intake box, we remove the intake horn and seal it up a plate that’s provided. Make sure to use ample amount of silicone for a good seal.


Next we use a template to mark out the side of the intake box to cut out for snorkel tube attachment.

I used a 1¼” holesaw to get a cleaner cut around the corners.

Once again be generous with the silicone and install the intake plate with pop rivets supplied.


Here we install the airbox back on the fender. As you can see the block off and intake plates now installed.

Now we hook up the intake hose and apply a bit of silicone on the ends for a water tight seal.

When then attach the hose to the intake pipe by crawling under the Jeep to access the area that’s below the battery tray.

We now install the intake grille to complete our install of the Safari Snorkel.

The finished look.

Here’s a few video’s on what Safari Snorkels are all about.
LINKS
Stay tuned as we tackle more accessories
Snorkels are simply awesome, I was just down at the Jeep dealer in McAllen TX picking out my next Jeep. Once I get it, I'll most definitely be installing a Safari Snorkel. Love the blog.
ReplyDeleteThis is interesting to watch the video of the finished installation. The snorkel is easy to install if you have the right instructions and equipment. Nice work!
ReplyDelete